Home & Decor
Hand-Painted Christmas Ornament
With The Handcrafted Co. Studio
About this class
Create a charming hand-painted glass Christmas ornament with botanical details. This beginner-friendly class guides you through prepping, base coating, painting delicate leaf motifs, and finishing with a rustic jute hanging loop.
What you'll learn
How to prep and clean a glass ornament surface, apply an even base coat, paint fine botanical details with a detail brush, and add a jute twine hanging loop for a finished rustic ornament.
Materials you'll need
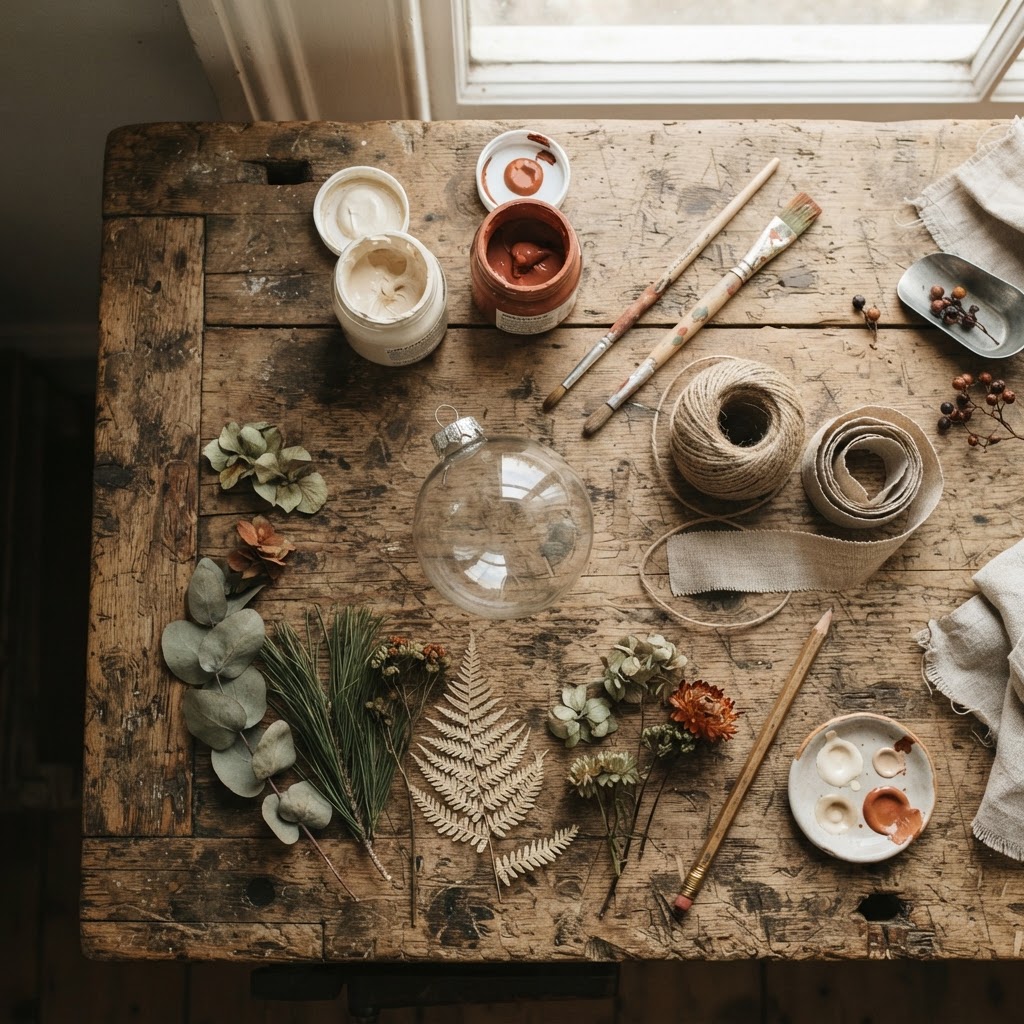
A clear glass ornament, cream and burnt terracotta acrylic paint, a small flat brush and a fine detail brush, a soft lint-free cloth, jute twine, natural ribbon, dried botanical sprigs, and a pencil.
Step-by-step tutorial
1Gather Your Materials
Collect a clear glass ornament, cream and burnt terracotta acrylic paint, a small flat brush and a fine detail brush, a soft cloth, a length of jute twine and natural ribbon, dried botanical sprigs, and a pencil for sketching your design.
 2
2Clean the Ornament
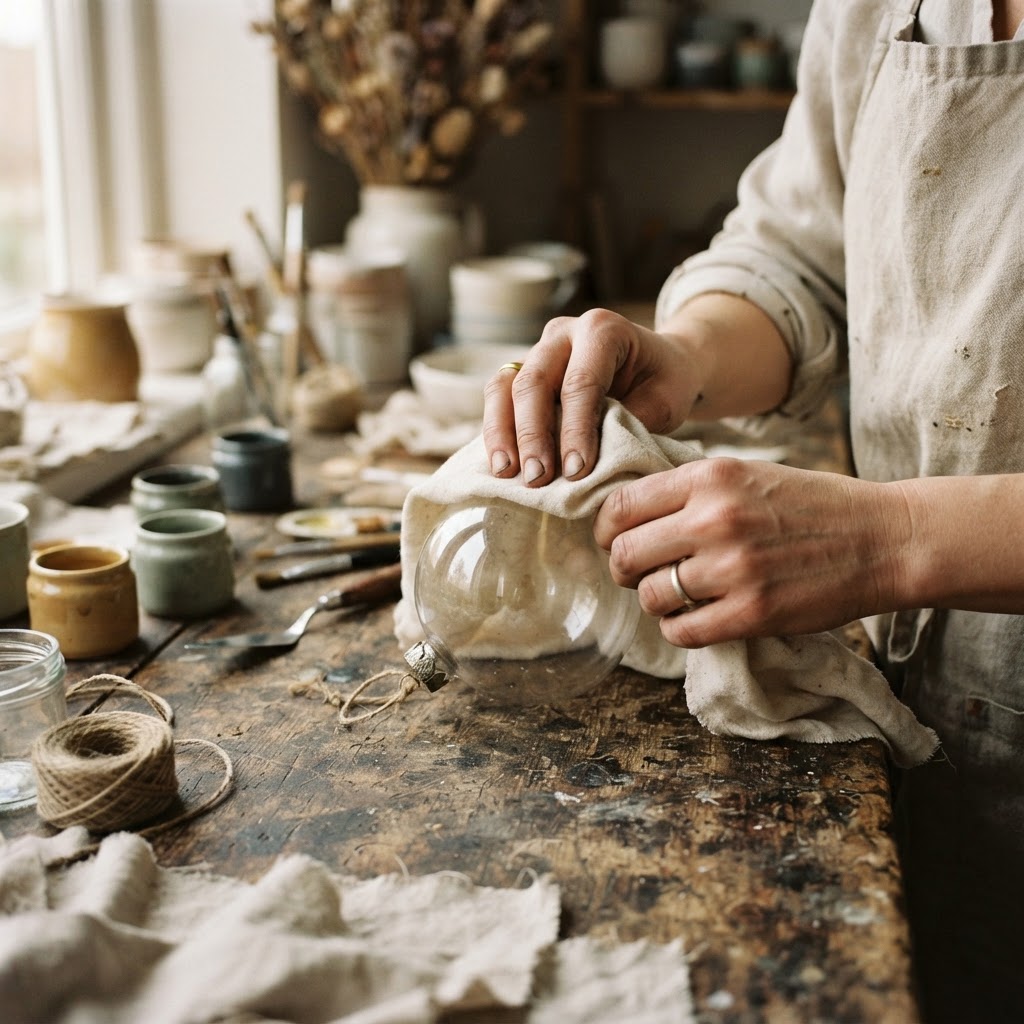
Wipe the glass ornament thoroughly with a soft, lint-free cloth to remove any dust or oils from your fingers. A perfectly clean surface ensures the paint adheres smoothly without streaks or fingerprints showing through.
 3
3Apply the Base Coat
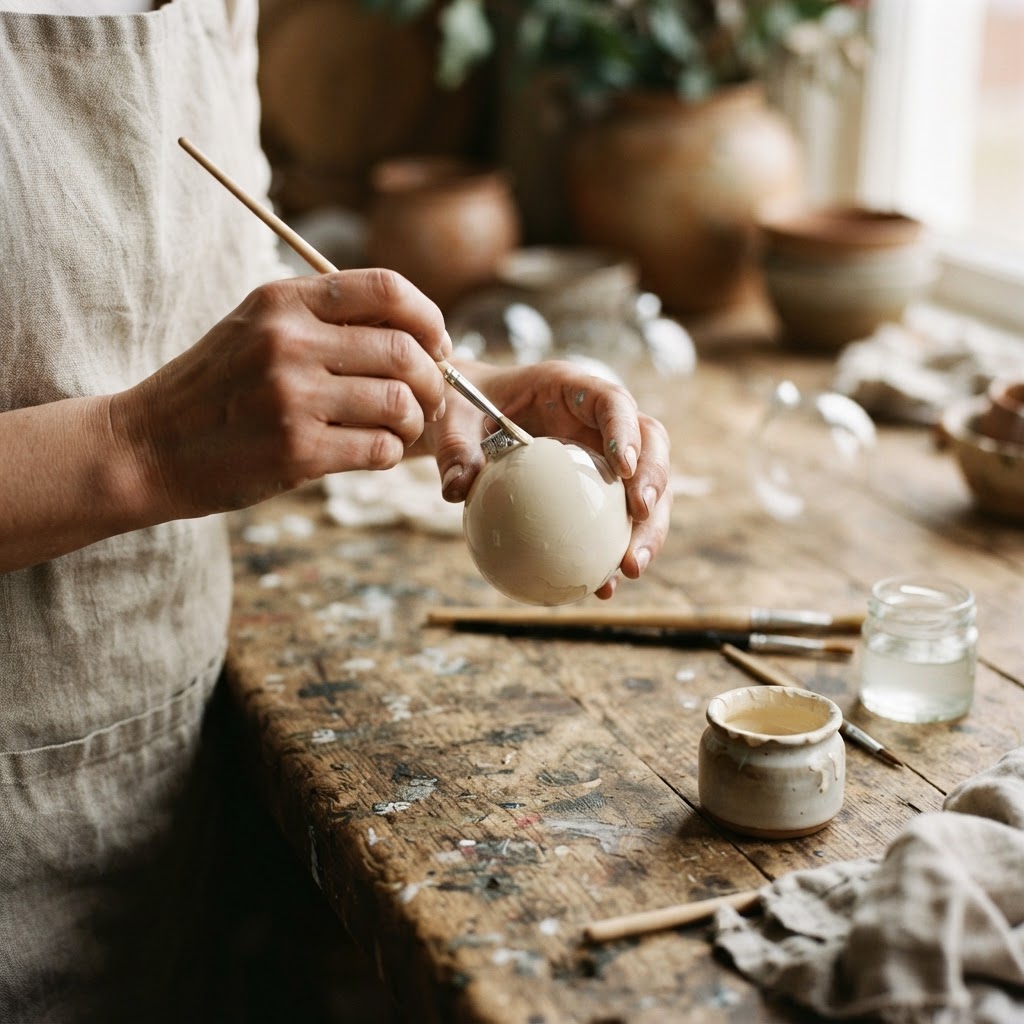
Using the small flat brush, apply an even layer of cream-colored paint around the ornament. Work in thin layers, rotating the ornament as you go. Let it dry for about 20 minutes before adding a second coat if needed for full coverage.
 4
4Paint the Botanical Design
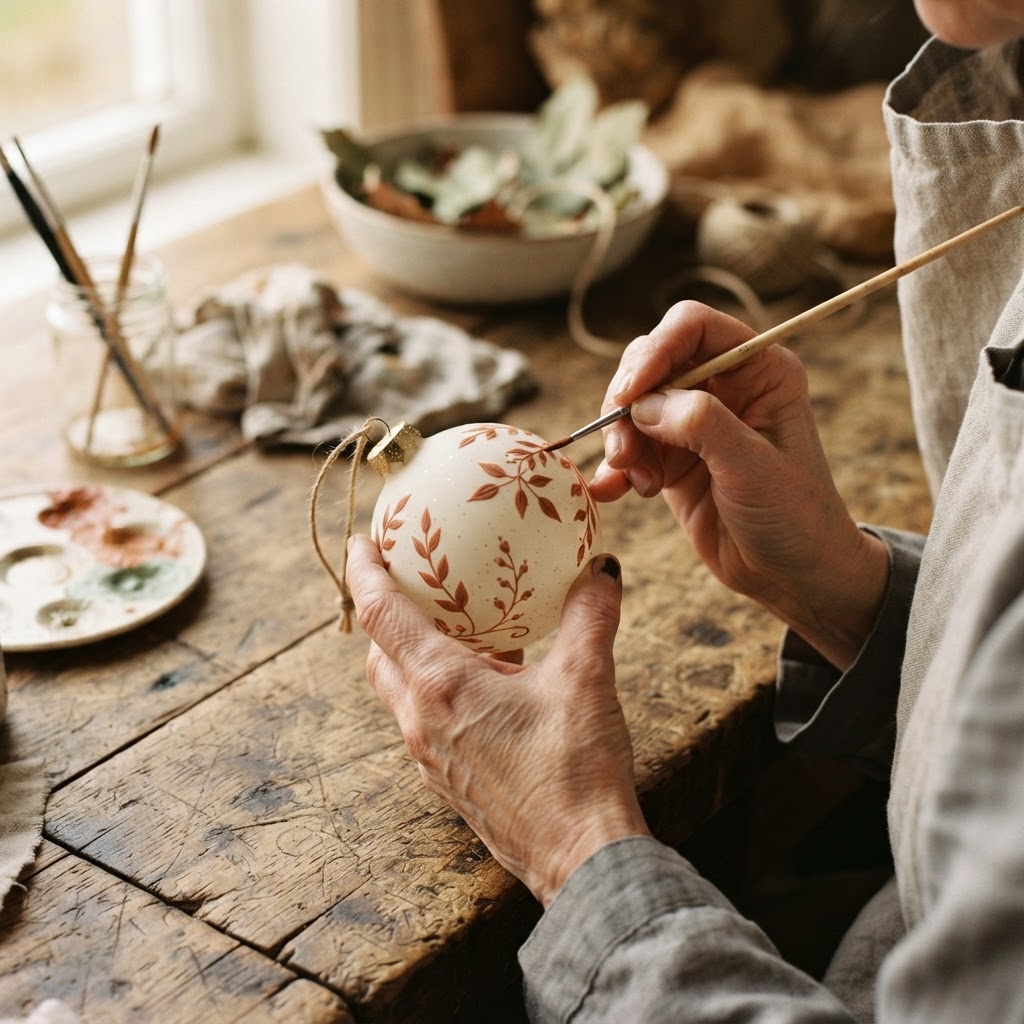
Once the base coat is dry, use the fine detail brush and burnt terracotta paint to add small leaf and sprig motifs around the ornament. Keep your hand steady and work one side at a time, letting each section dry before rotating.
 5
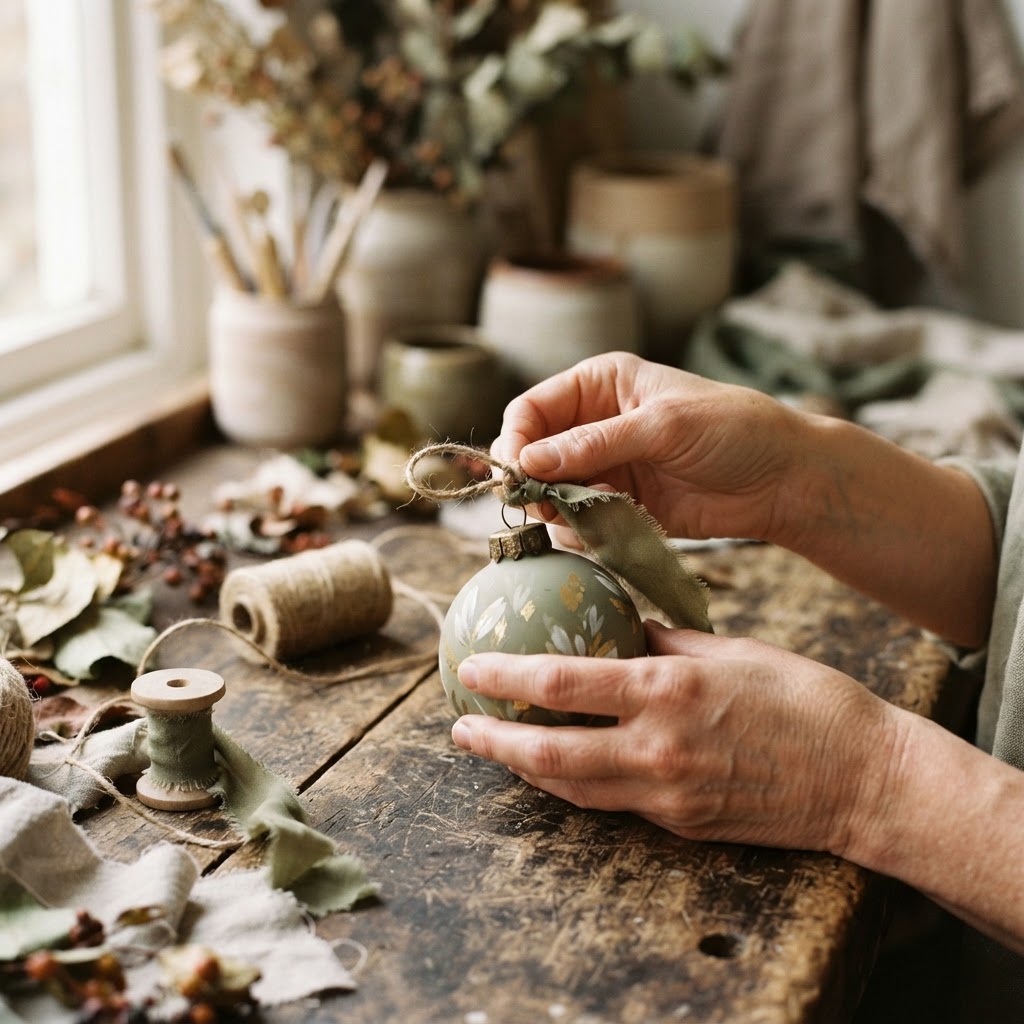
5Add the Hanging Loop
Cut a length of jute twine about 8 inches long and thread it through the ornament's top cap. Tie a secure knot to form a loop, then add a small bow of natural ribbon just below the cap for a finished, rustic look.
 6
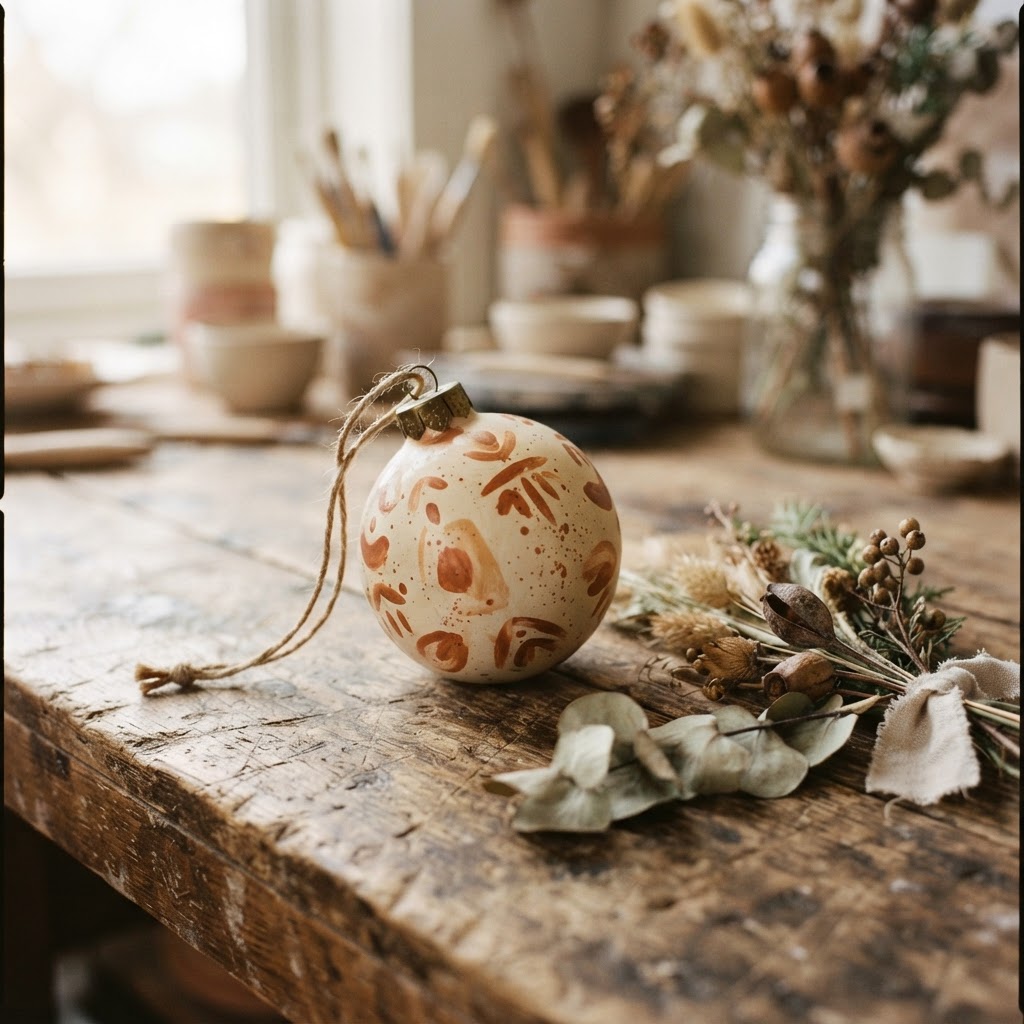
6Display Your Ornament
Once all the paint is fully dry and the cap is secured, your hand-painted ornament is ready to hang on a tree, from a hook, or gift to a friend. Handle gently — the painted surface is best kept dry and out of direct sunlight.