Natural Bath & Beauty
Making Whipped Soap
With Lila Hartman
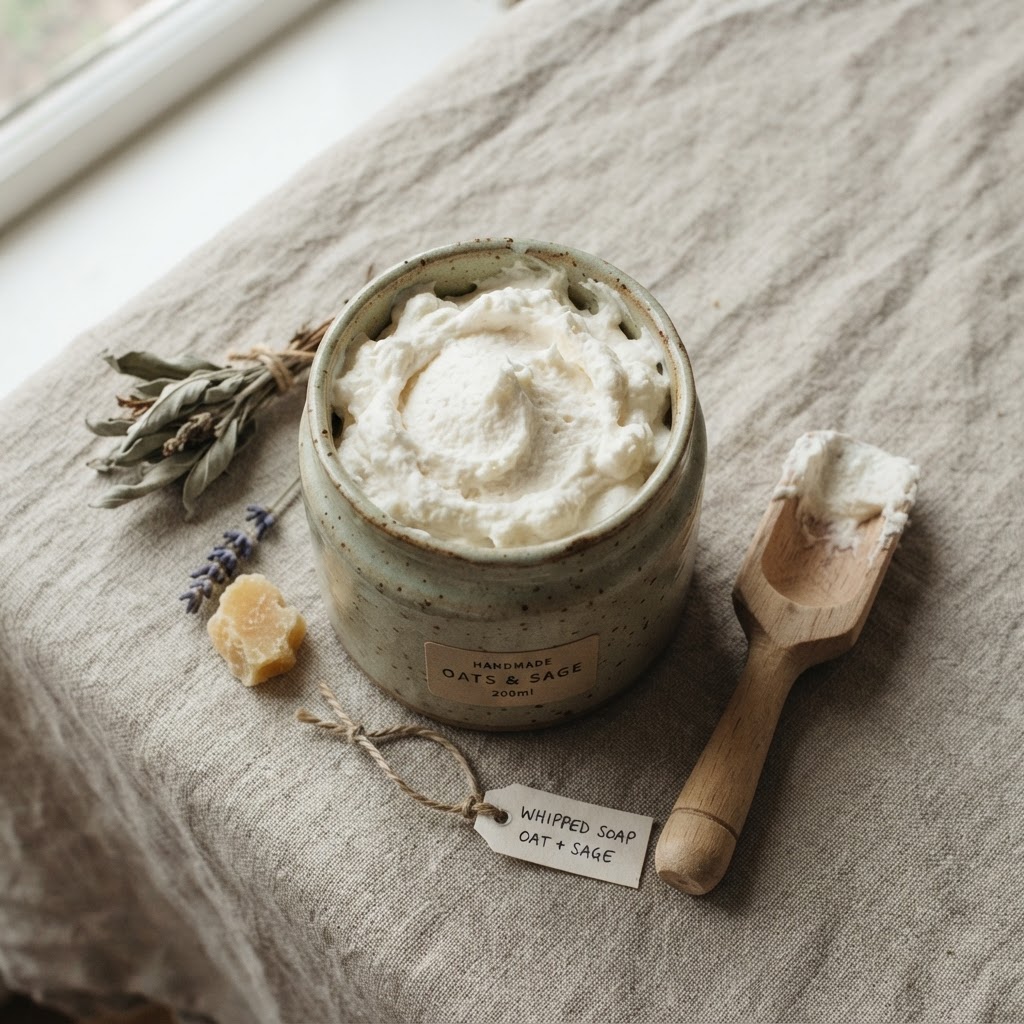
About this class
Learn to make a fluffy, moisturizing whipped soap from melt-and-pour base and shea butter. This beginner-friendly class covers every step — from melting the base to piping the finished soap into jars. A gentle, natural addition to your bath routine.
What you'll learn
How to melt and whip a soap base, incorporate butter for moisture, add natural fragrance and color, and pipe a finished whipped soap into jars for use or gifting.
Materials you'll need
Clear melt-and-pour soap base, shea butter, fragrance oil, natural clay or mica colorant, a glass mixing bowl, a hand whisk, and clean ceramic or glass jars.
Step-by-step tutorial
 1
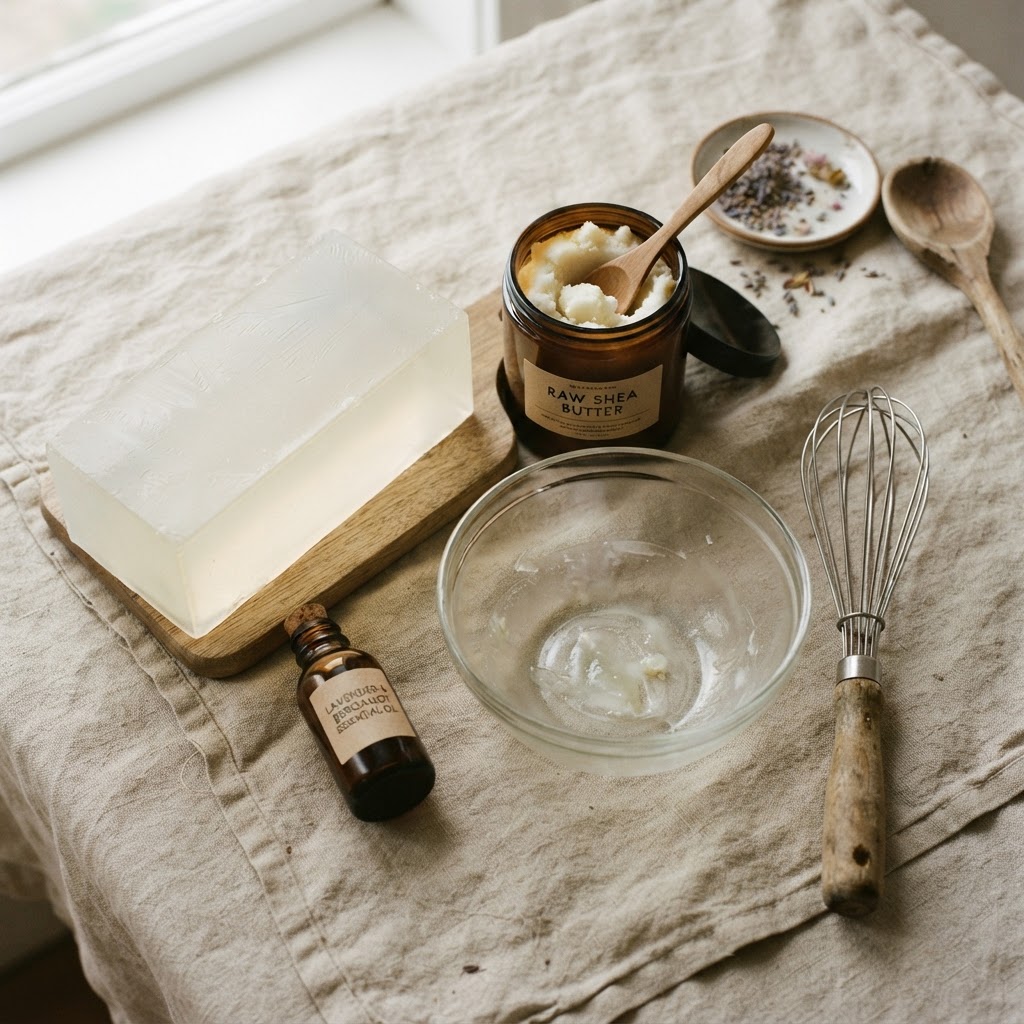
1Gather Your Materials
Lay out a block of clear melt-and-pour soap base, a jar of shea butter, your chosen fragrance oil, a glass mixing bowl, and a hand whisk. A double boiler or a heat-safe bowl over simmering water works for melting.
 2
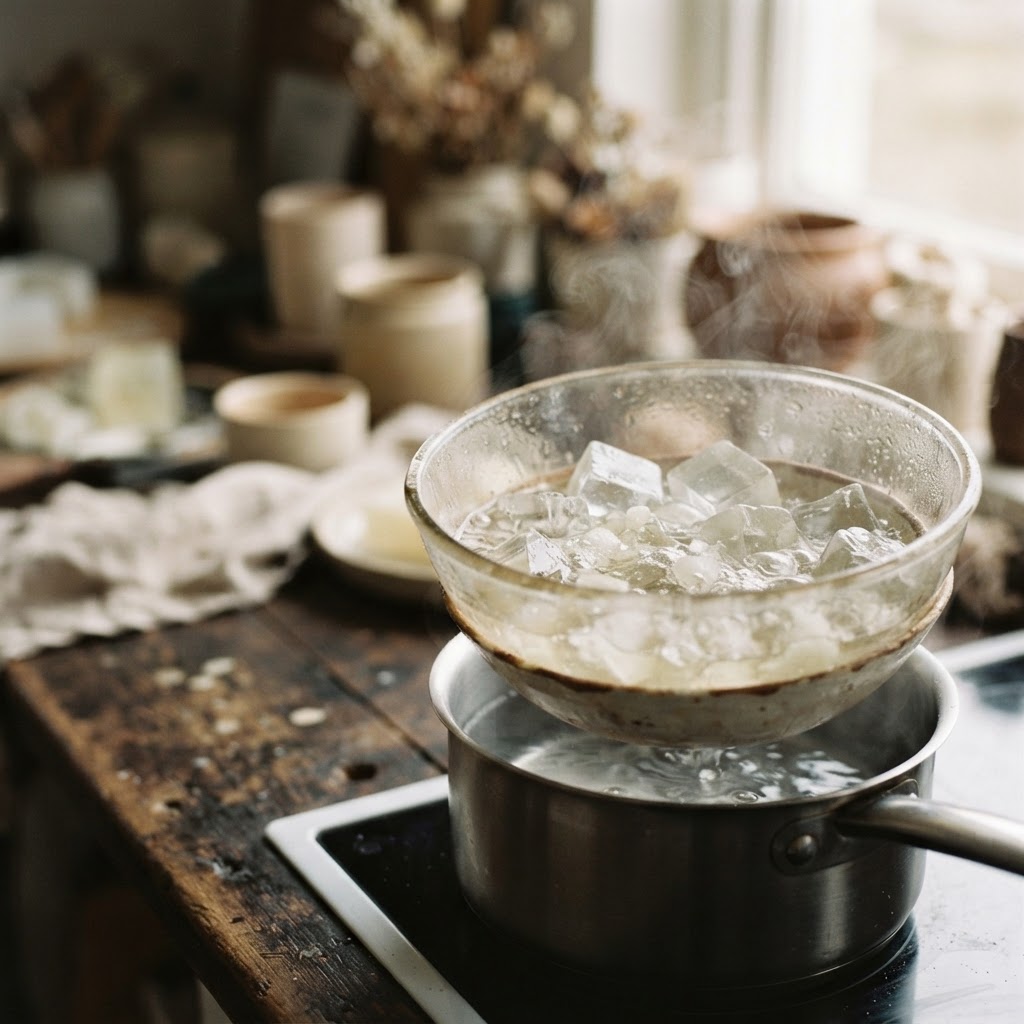
2Melt the Soap Base
Cut the soap base into small even cubes and place them in your glass bowl over gently simmering water. Stir occasionally until fully melted and smooth. Keep the heat low — overheating causes the soap to sweat and lose clarity.
 3
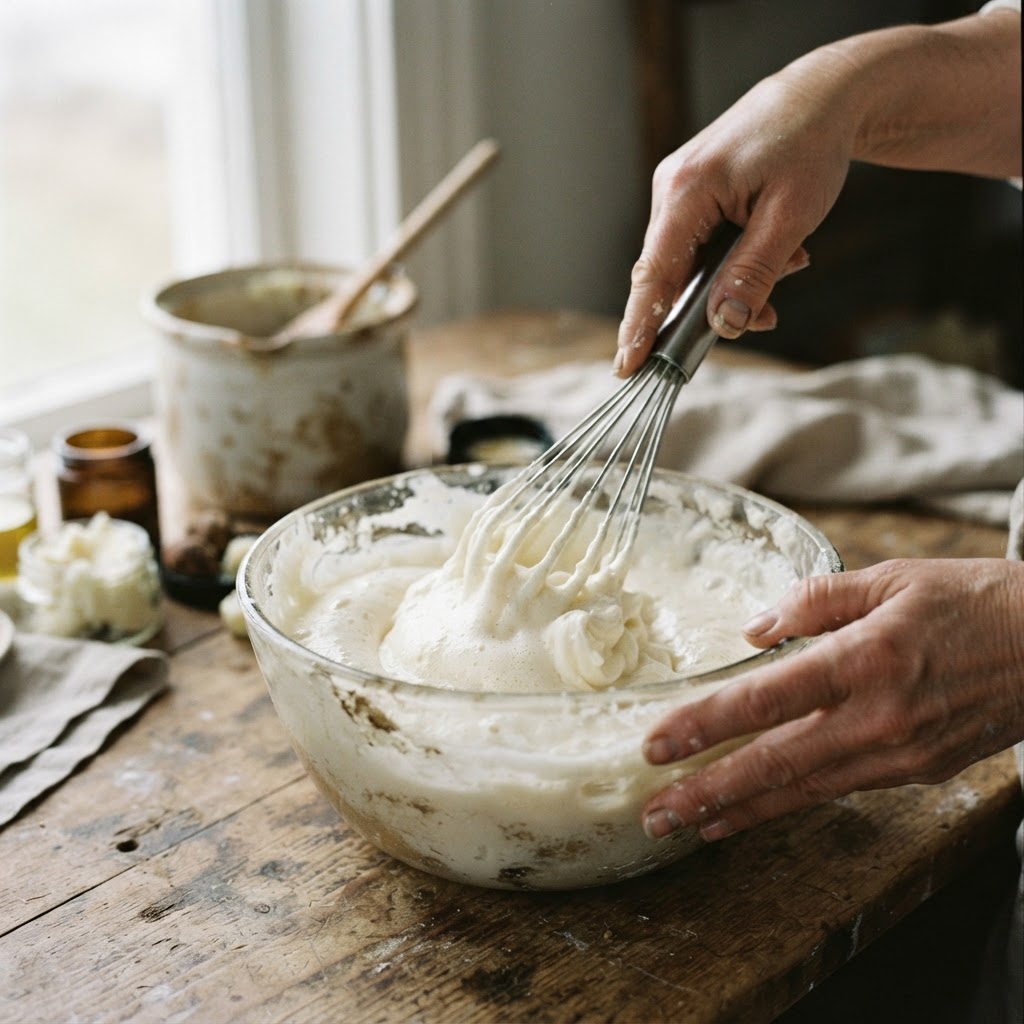
3Whip in the Butter
Remove the bowl from heat and add a spoonful of shea butter. Begin whisking steadily to incorporate air and whip the mixture until it turns pale, fluffy, and cloud-like. This takes a few minutes of consistent whisking.
 4
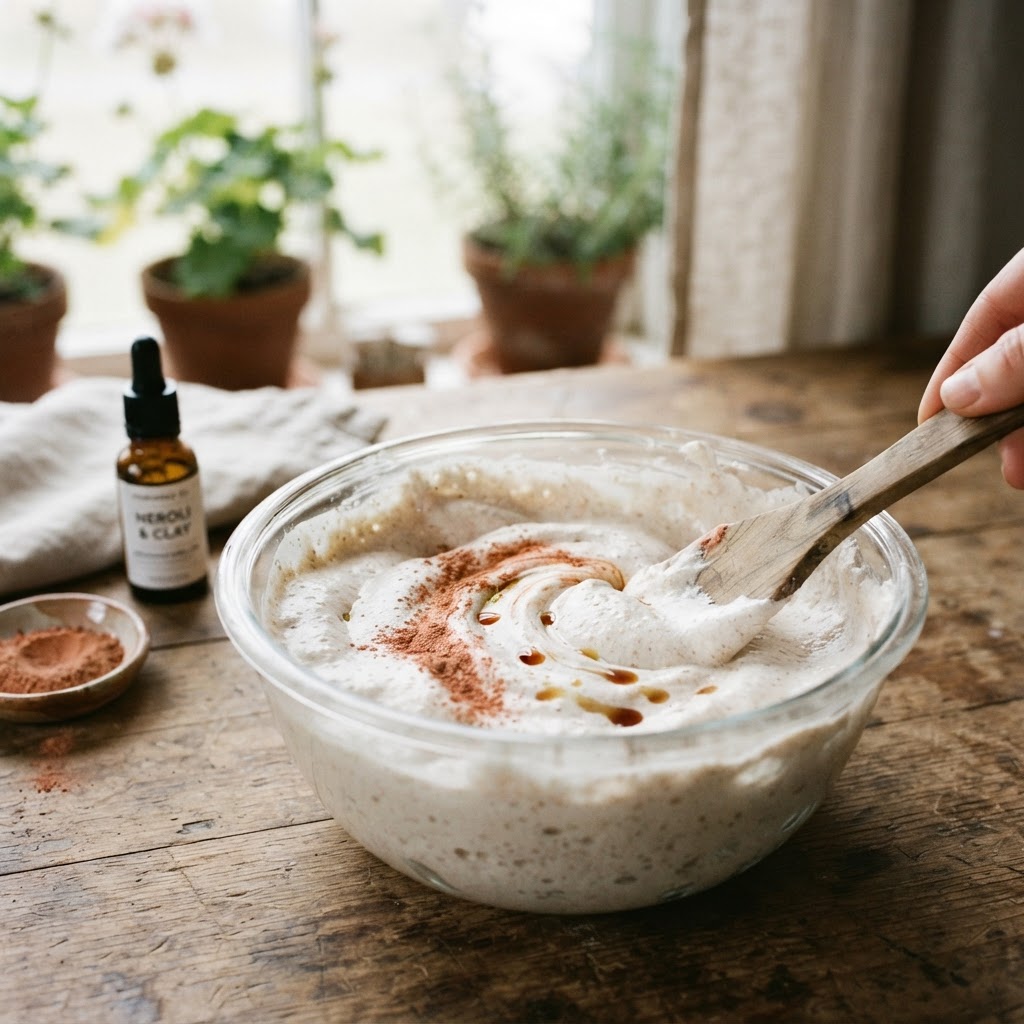
4Add Fragrance and Color
Stir in a few drops of fragrance oil and a pinch of natural clay or mica for soft color. Fold gently to keep the fluffy texture — overmixing will deflate the whip. Taste-test scent strength with a small dab on a paper towel.
 5
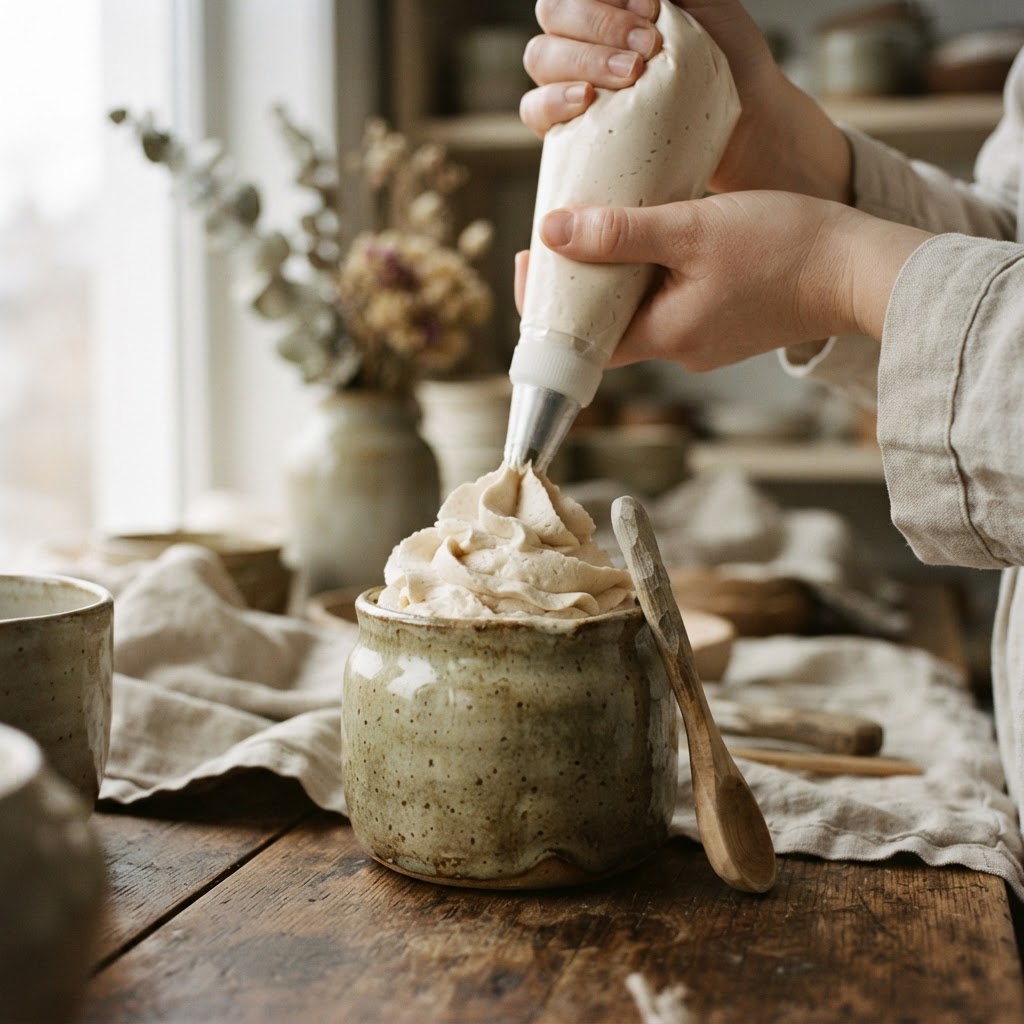
5Pipe into Jars
Spoon or pipe the whipped soap into clean ceramic or glass jars, creating soft peaks on top. Tap the jar gently to settle and release air pockets. Let it set for a few hours before sealing. Your whipped soap is ready to use or gift.