Candle Making
Hand-Poured Soy Candles: A Beginner's Tutorial
With The Handcrafted Co. Studio

About this class
Learn to pour your own clean-burning soy candle from start to finish. This beginner-friendly class walks you through every step — from gathering materials to a finished candle ready to light. We'll cover wax temperature, wick centering, fragrance load, and the patience required for a beautiful, even burn.
What you'll learn
How to melt and temper soy wax safely Choosing and securing the right wick for your vessel Measuring fragrance oil for a balanced scent throw Pouring at the correct temperature for a smooth finish Curing and trimming your finished candle
Materials you'll need
Soy wax flakes (approx. 8 oz per vessel) Pre-tabbed cotton wicks A heat-safe pouring vessel or ceramic A double boiler or heat-proof bowl over a saucepan Thermometer Fragrance or essential oil (approx. 1 oz per 8 oz wax) Wick stickers or a dab of hot glue A wick holder or two chopsticks to keep the wick centered
Step-by-step tutorial
 1
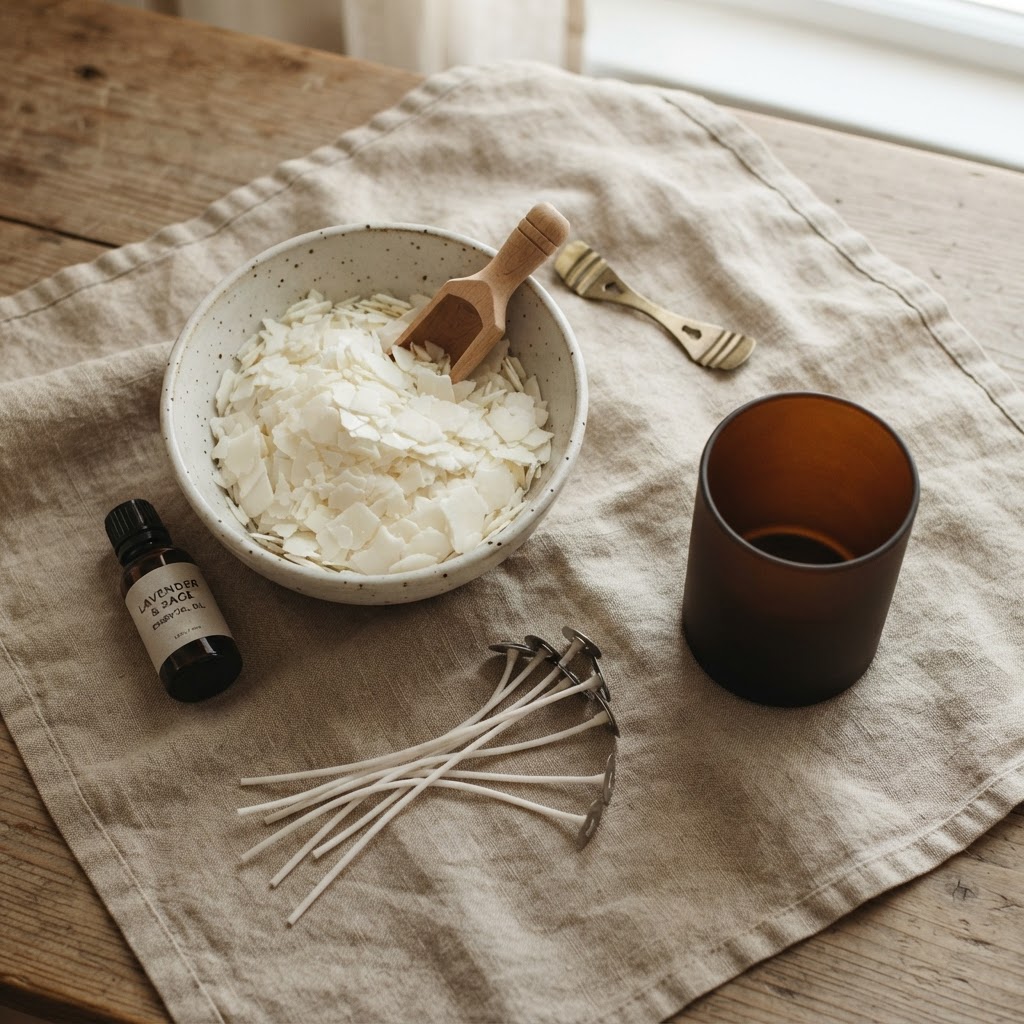
1Gather your materials
Lay out your wax flakes, wicks, fragrance, vessel, and tools on a clean work surface. Having everything within reach keeps the pour smooth and stress-free — once the wax is melted, you'll want to move quickly.
 2
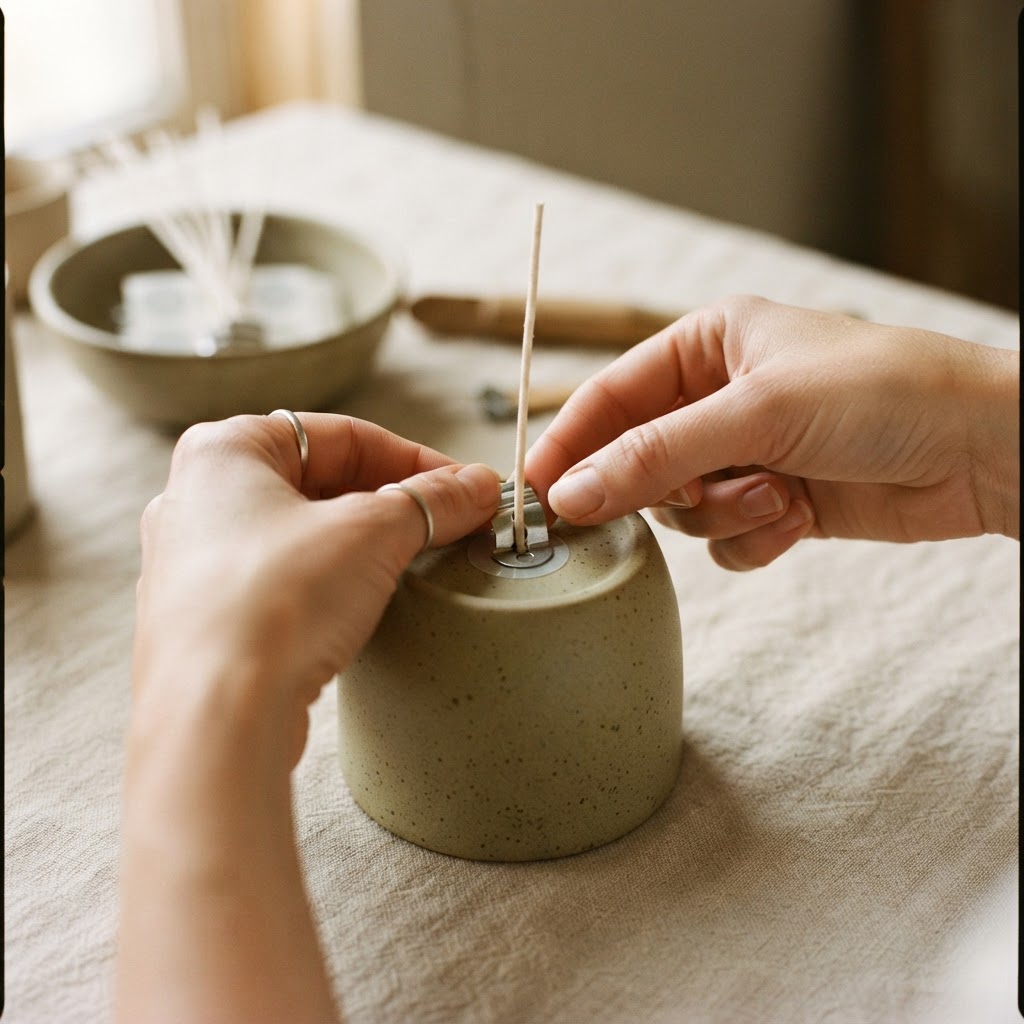
2Secure the wick
Use a wick sticker or a small dab of hot glue to fix the metal tab of your wick to the center of the vessel's base. Keep the wick upright by resting it between two chopsticks laid across the rim. A centered wick means an even, clean burn.
 3
3Melt the wax
Add your soy wax flakes to a heat-proof bowl set over a saucepan of gently simmering water (a double boiler). Stir occasionally and monitor the temperature with your thermometer. Heat until the wax reaches about 170–185°F (77–85°C), fully melted and clear.
 4
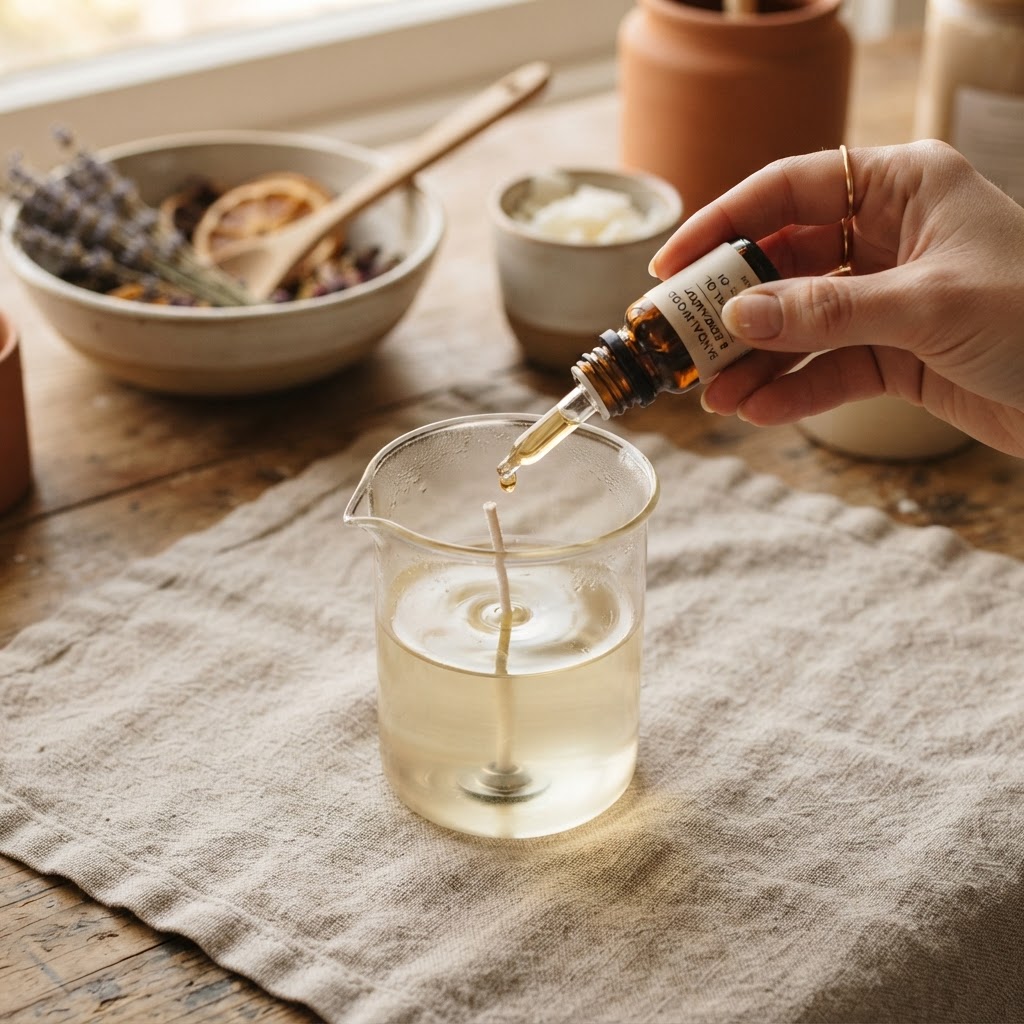
4Add the fragrance
Remove the melted wax from heat and let it cool to around 160°F (71°C). Add your fragrance or essential oil — roughly 1 oz per pound of wax (about 10% by weight). Stir gently and steadily for two full minutes so the oil binds evenly with the wax.
 5
5Pour the candle
Slowly pour the wax into your prepared vessel in a steady, gentle stream to avoid air bubbles. Leave about half an inch of space below the rim. Keep the wick centered and taut. Let the candle rest undisturbed on a flat surface away from drafts.
 6
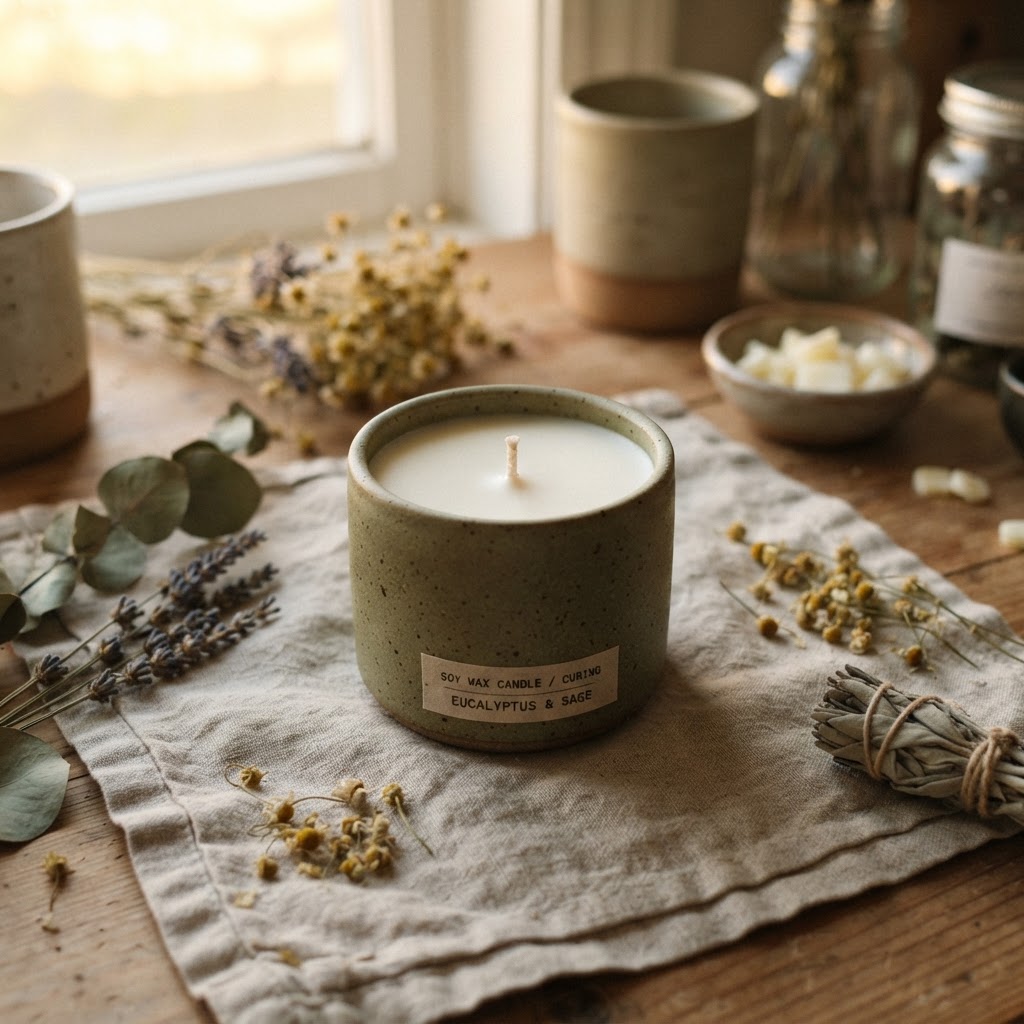
6Cure and trim
Allow your candle to cure at room temperature for at least 24 hours (overnight is ideal) for the best scent throw. Once set, trim the wick to about 1/4 inch. Your hand-poured candle is ready to light — enjoy the warm glow you made by hand.