Leatherwork
Hand-Stitching a Leather Card Wallet
With The Handcrafted Co.
About this class
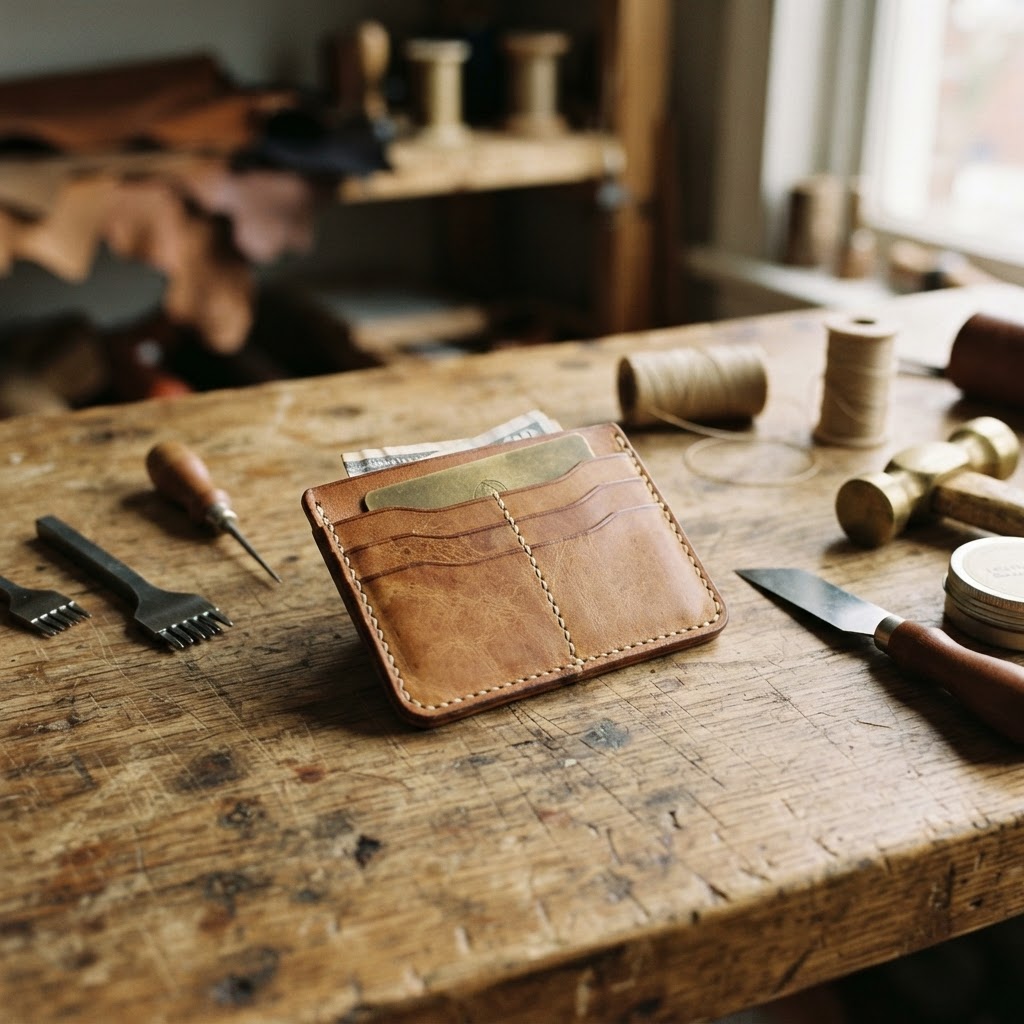
Make a slim two-pocket card wallet using the saddle-stitch technique. This class covers pattern transfer, edge beveling, punching, and the two-needle saddle stitch that gives handmade leatherwork its signature durability.
What you'll learn
How to cut vegetable-tanned leather, mark and punch stitching holes, thread two-needle saddle stitching, and burnish edges for a professional finish.
Materials you'll need
Vegetable-tanned leather (roughly 10x4 inches), waxed linen thread, two leather needles, an awl or stitching chisel, a rotary cutter, a straight edge, a wing divider, edge slickener or beeswax, and a stitching pony or clamp.
Step-by-step tutorial
 1
1Gather Your Materials
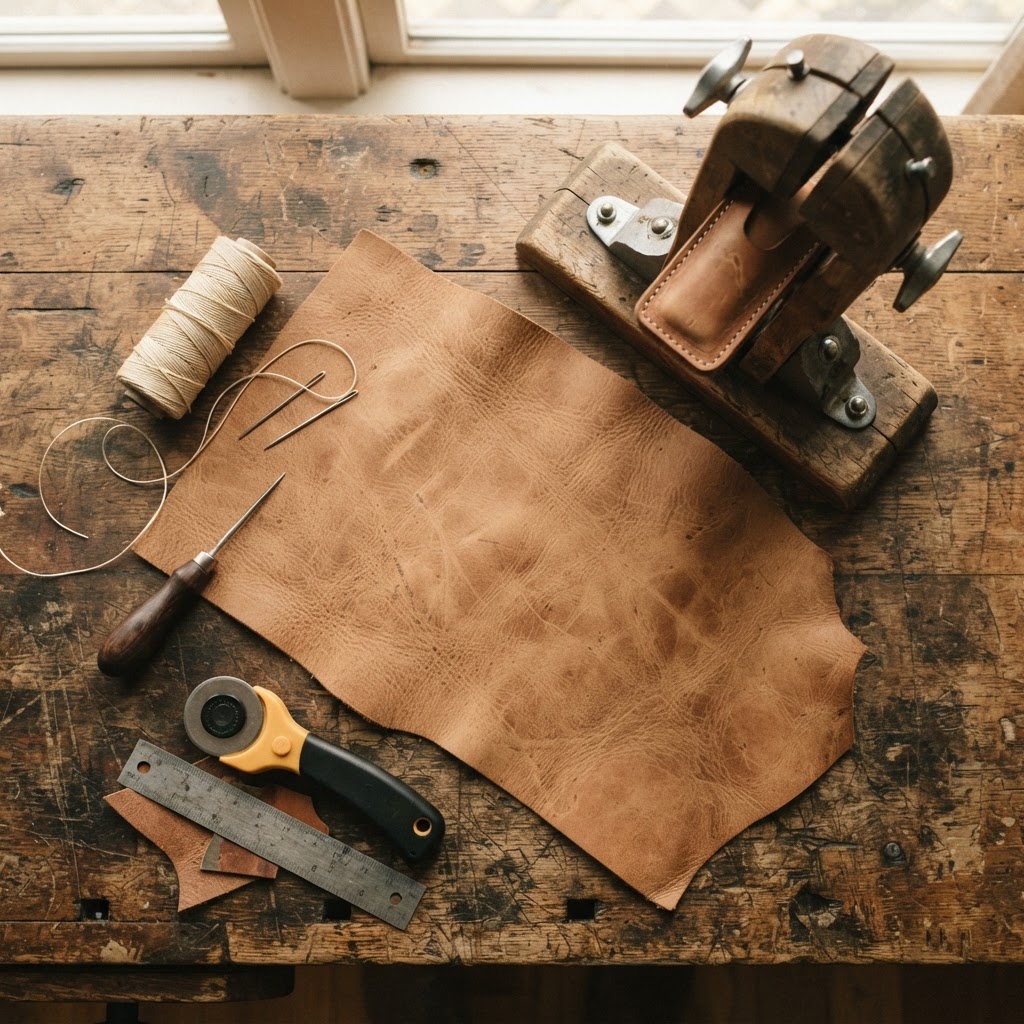
Lay out your vegetable-tanned leather piece, waxed linen thread, two leather needles, an awl or stitching chisel, a rotary cutter with straight edge, and a stitching pony or clamp. A self-healing cutting mat protects your workbench.
 2
2Cut the Leather to Size
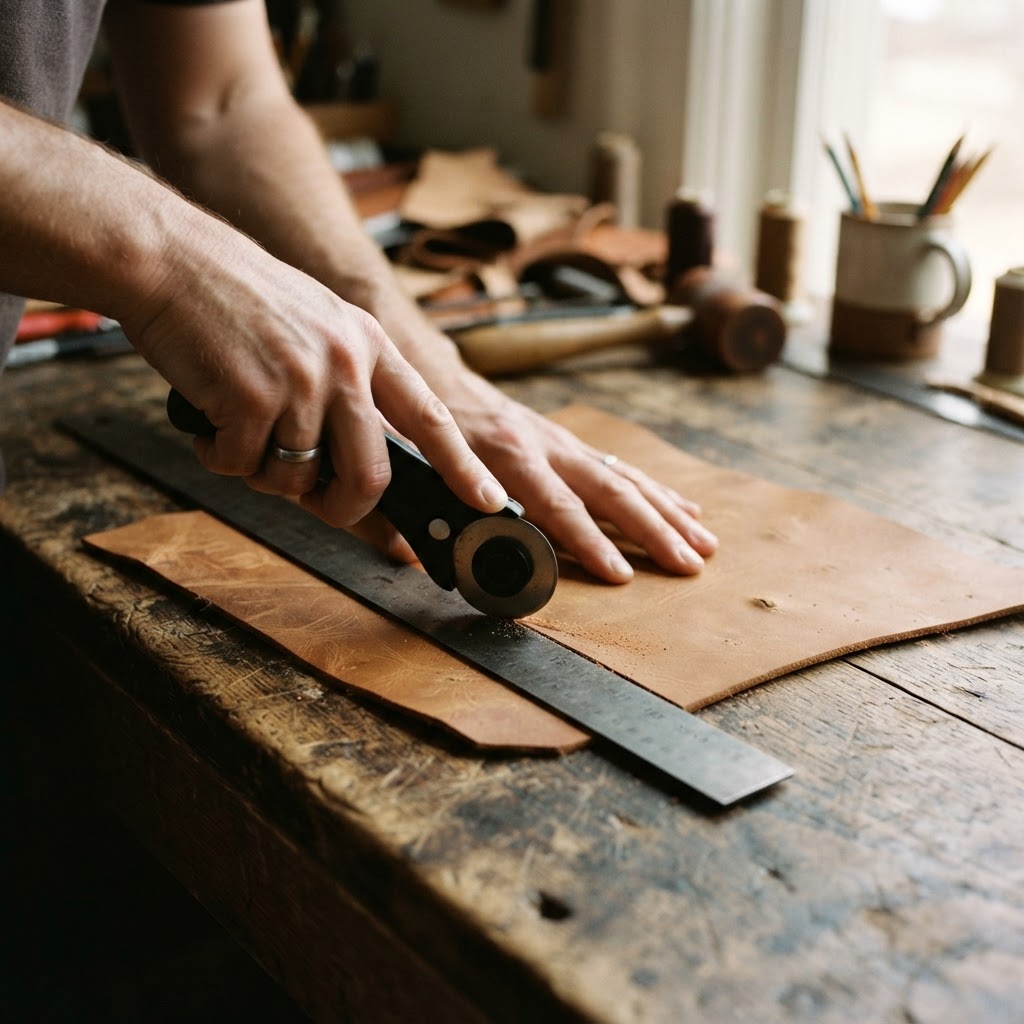
Using your rotary cutter and a straight edge, cut the leather to the wallet pattern dimensions — a single rectangular piece roughly 10 by 4 inches that will fold into a card wallet with two interior pockets. Keep your cuts clean and perpendicular to the edge.
 3
3Mark and Punch Stitch Holes
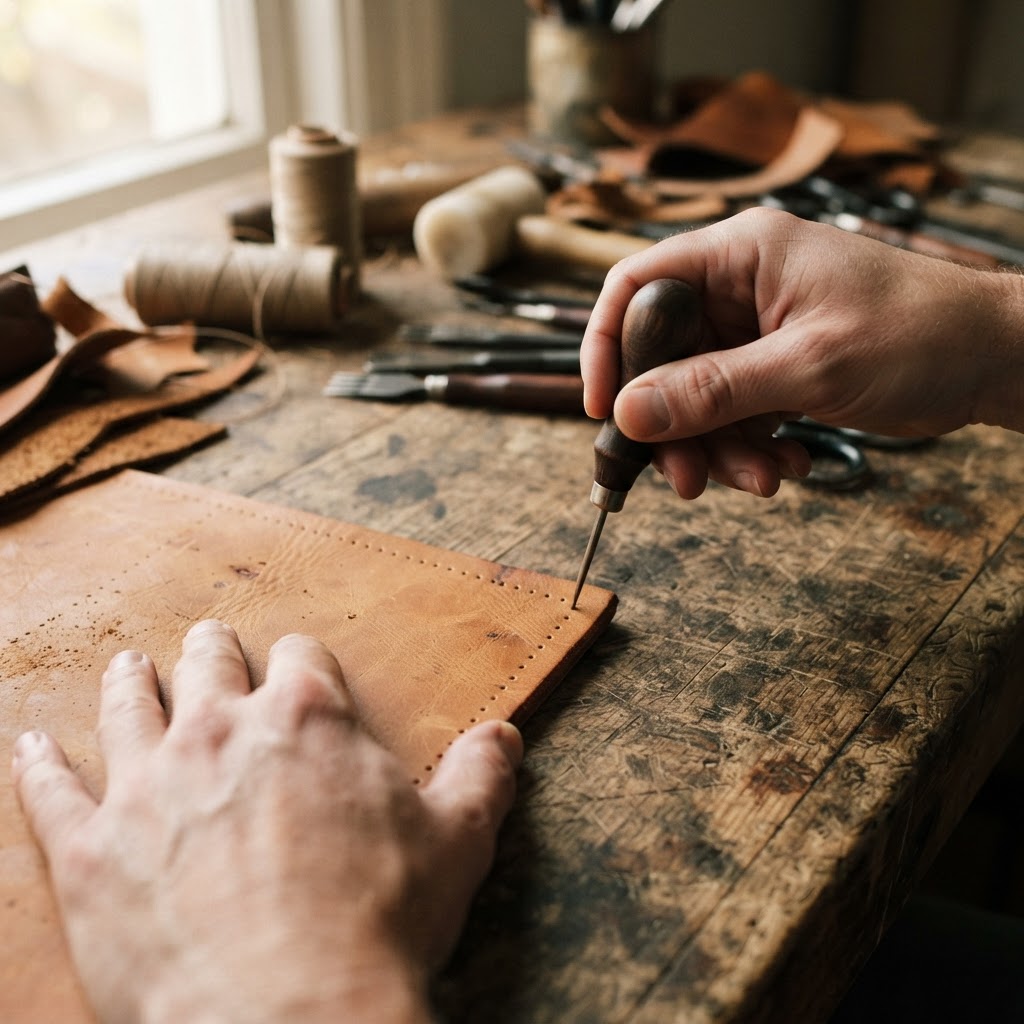
Use a wing divider to scribe a stitching line about 1/8 inch from the edge. Then use your awl or stitching chisel to punch evenly spaced holes along the line — spacing them roughly 1/4 inch apart. Punch through both layers where the wallet folds so the holes align.
 4
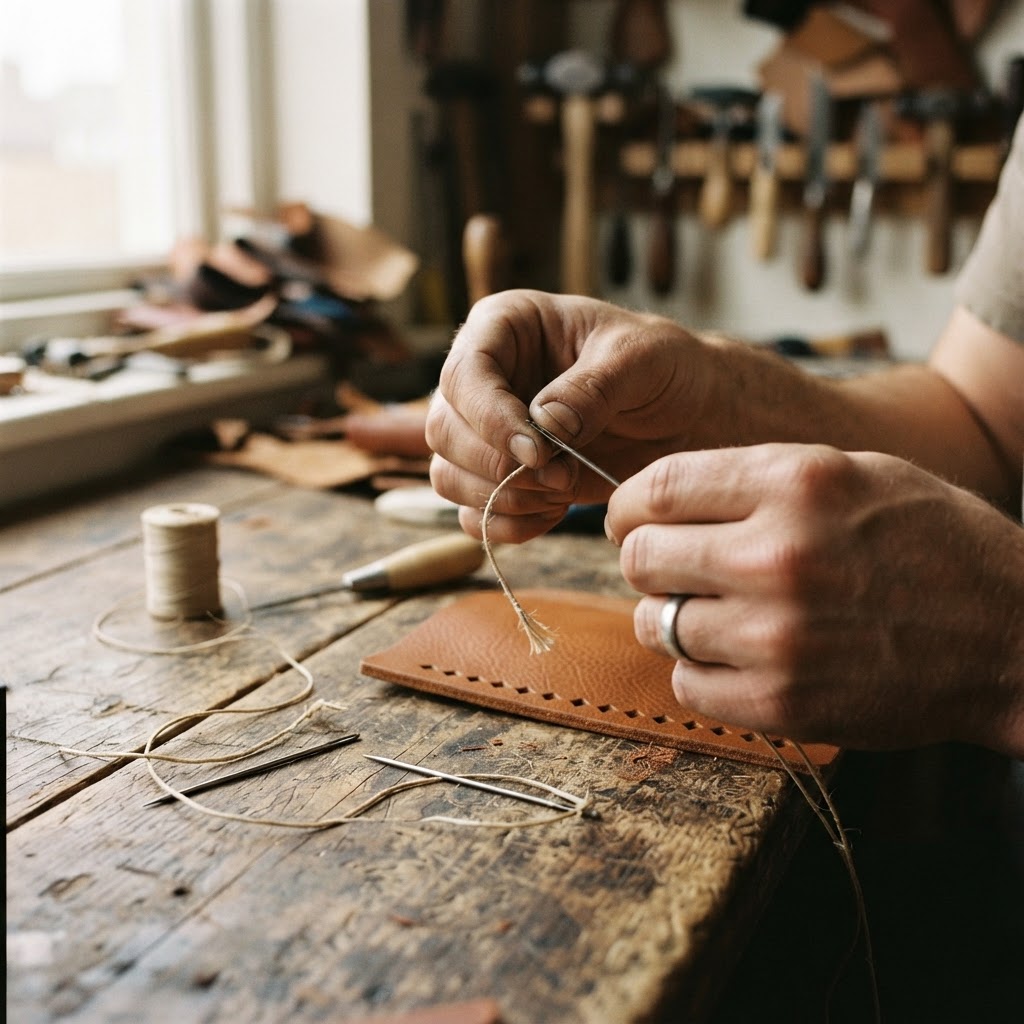
4Thread Two Needles
Cut a length of waxed linen thread roughly three times the length of your stitching line. Thread one needle on each end of the thread and pull each through about an inch, then lock it by passing the needle through the thread a second time near the eye.
 5
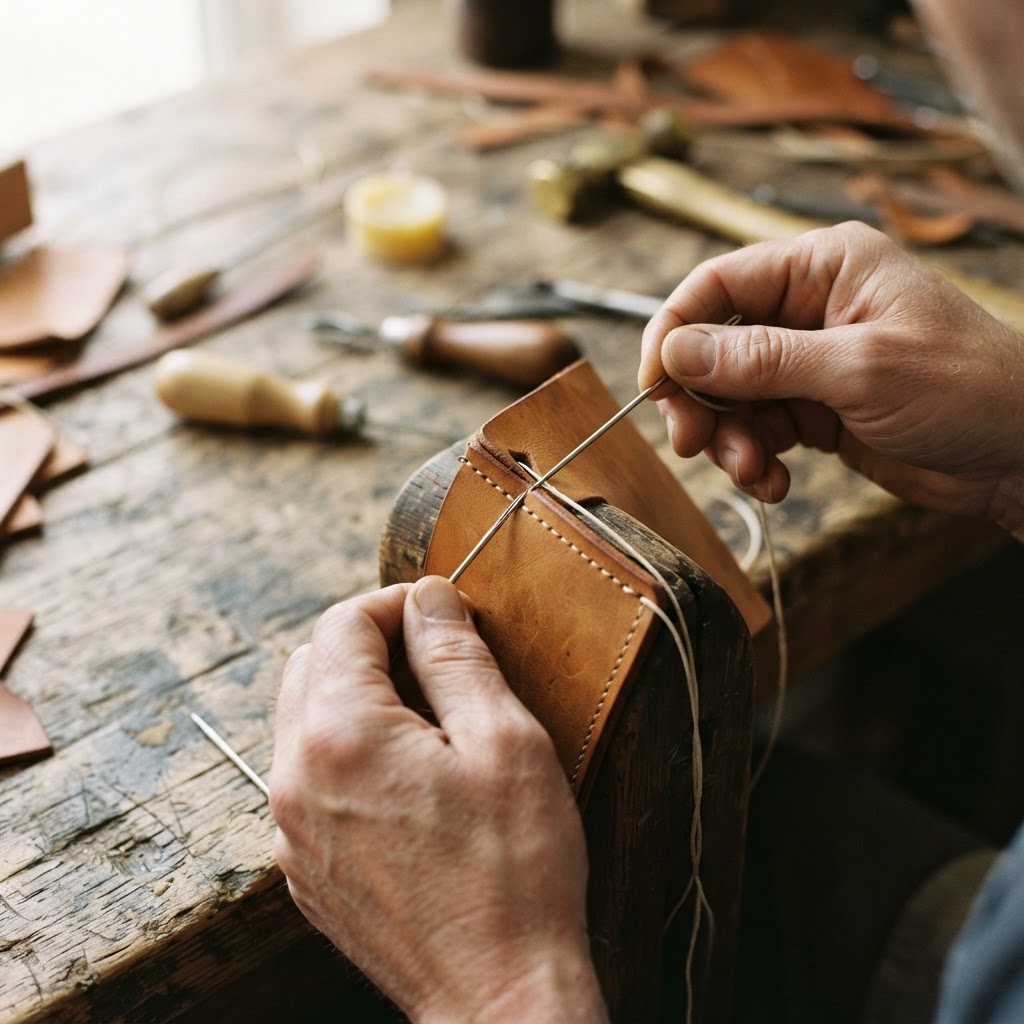
5Saddle Stitch the Wallet
Starting at the first hole, pass one needle through and pull the thread to its midpoint. Pass the second needle through the same hole from the opposite side and pull tight — this creates the saddle stitch. Continue along each hole, alternating sides, keeping tension even and consistent.
 6
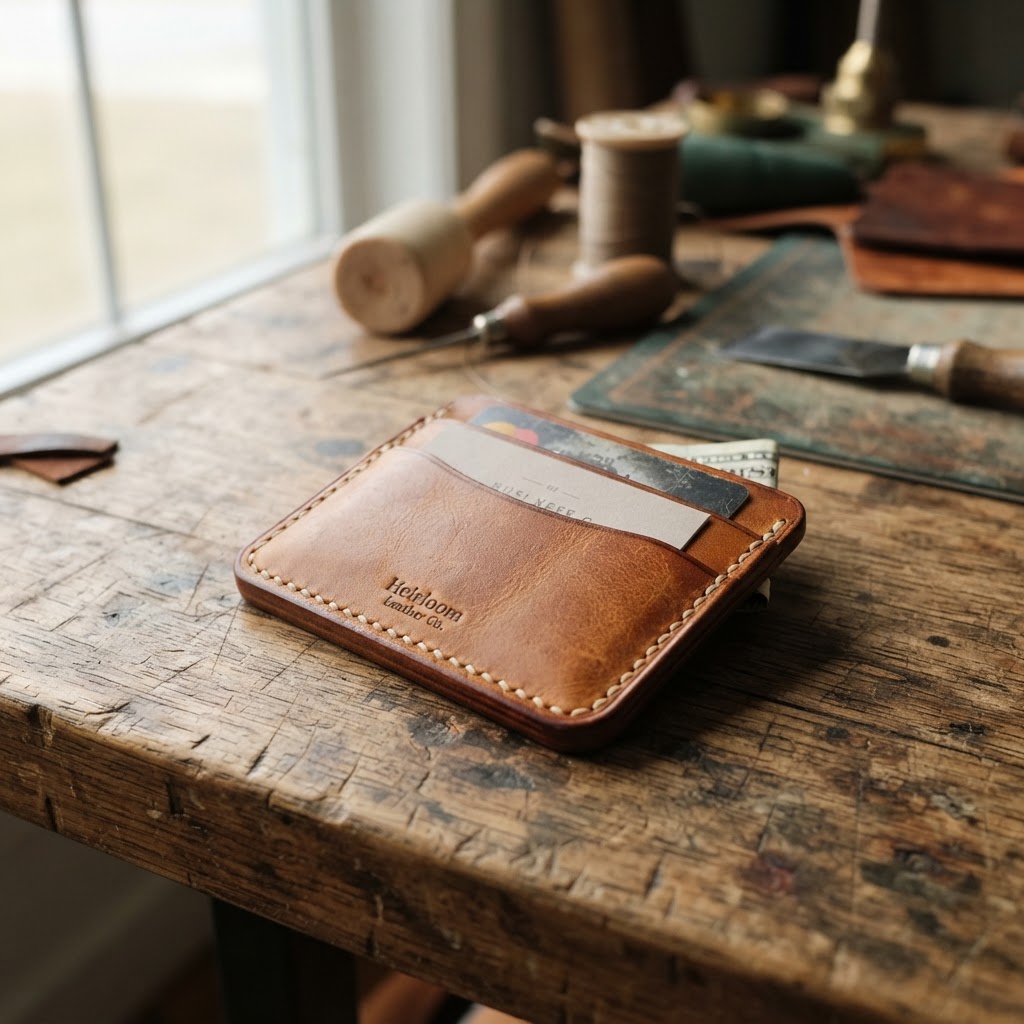
6Finish and Burnish the Edges
After the final stitch, tie off the thread with a hidden knot and trim. Apply edge slickener or beeswax to the leather edges and burnish with a canvas or wood slickener in quick strokes until smooth and glossy. Your hand-stitched card wallet is ready to use.