Woodwork
Making a Hand-Painted Welcome Sign
With The Handcrafted Co.
About this class
Learn to transform a simple pine board into a charming hand-painted welcome sign. This beginner-friendly class walks you through sanding, base coating, stenciling, and finishing — a perfect first woodcraft project for your home.
What you'll learn
How to sand and prep a wood surface, apply an even base coat, position and paint through letter stencils without bleeding, and add rope hanging hardware for a finished sign.
Materials you'll need
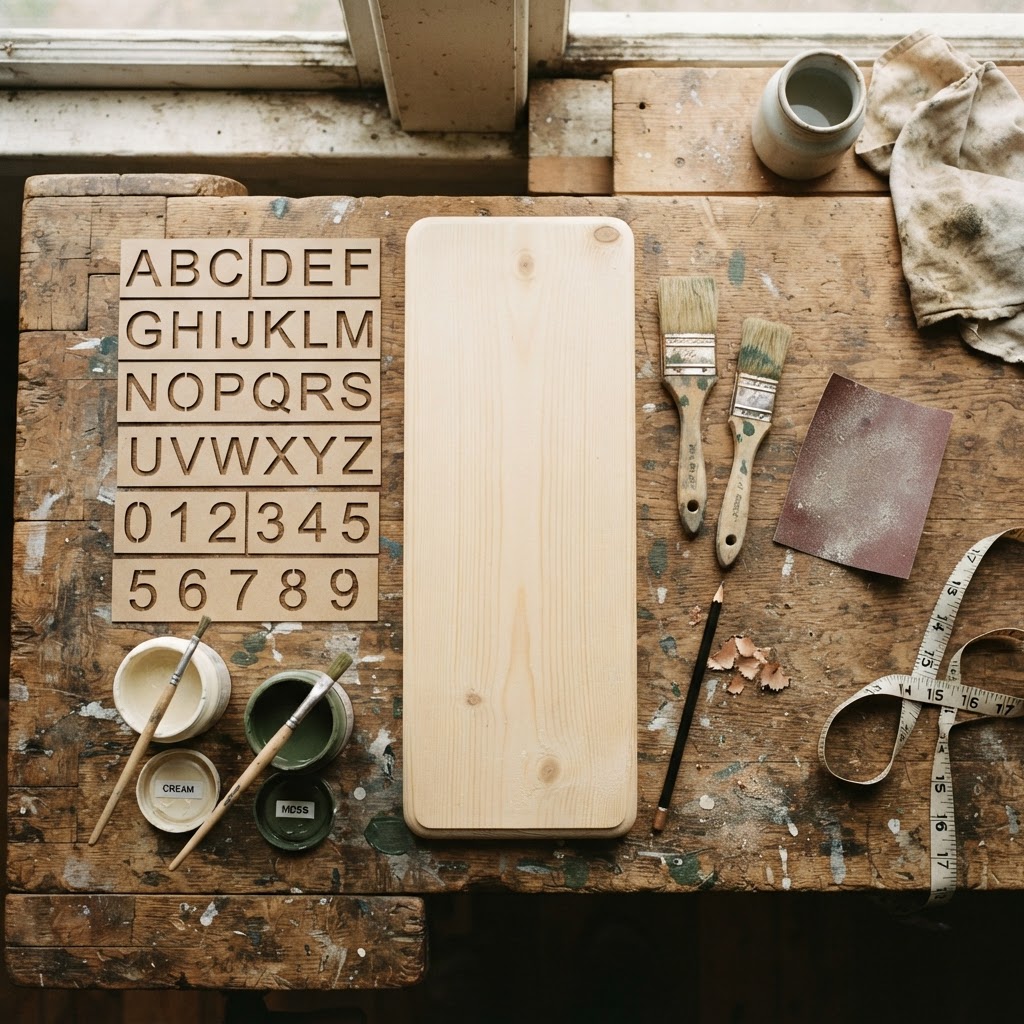
A smooth pine board (about 12x6 inches), letter stencils for WELCOME, cream and deep moss green acrylic paint, a wide brush and a small detail brush, 120 and 220 grit sandpaper, painter's tape, a pencil, measuring tape, a drill, and jute rope.
Step-by-step tutorial
1Gather Your Materials
Collect a smooth pine board (about 12 by 6 inches), letter stencils for the word WELCOME, cream and deep moss green acrylic paint, a wide brush and a small detail brush, sandpaper (120 and 220 grit), a pencil, measuring tape, painter's tape, and jute rope for hanging.
 2
2Sand the Board Smooth
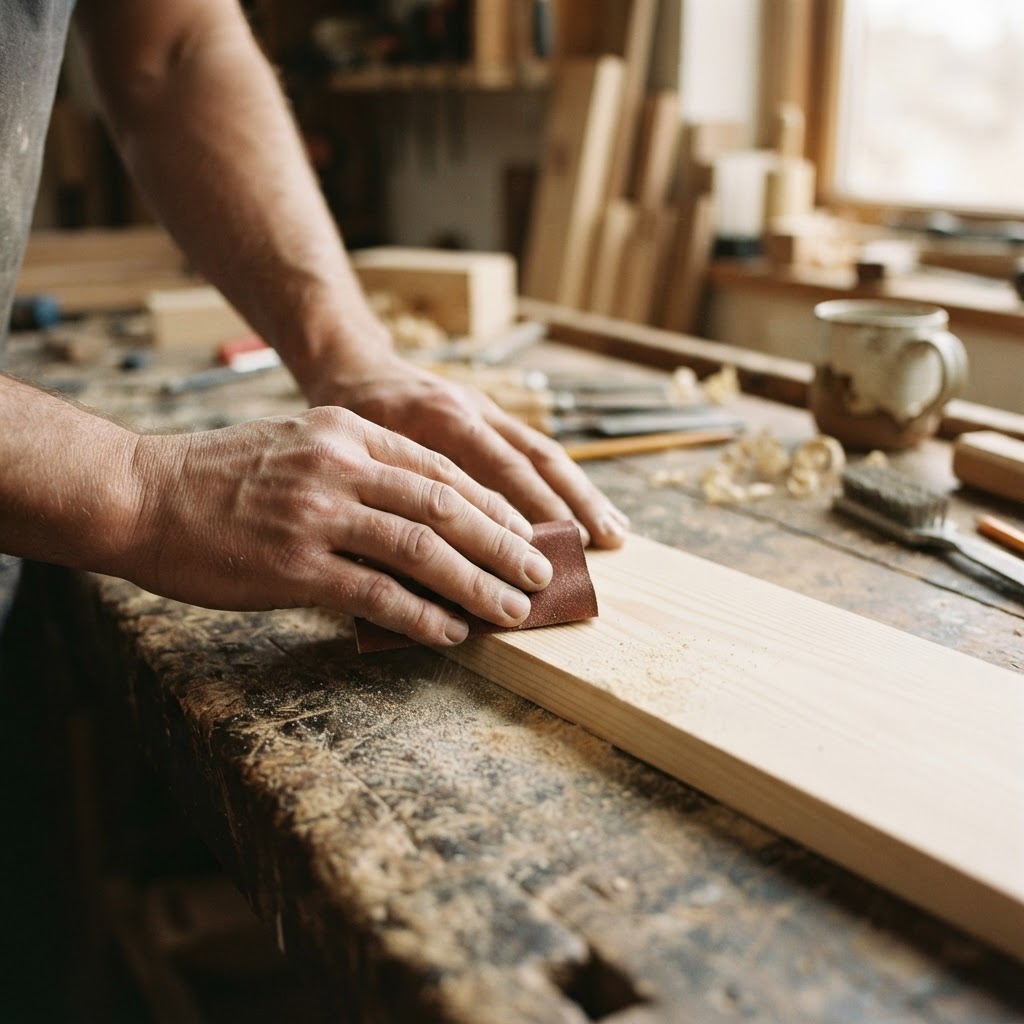
Start with 120-grit sandpaper to remove any rough spots, working in the direction of the grain. Follow with 220-grit for a silky finish. Wipe away all dust with a damp cloth — a clean surface helps the paint adhere evenly.
 3
3Apply the Base Coat
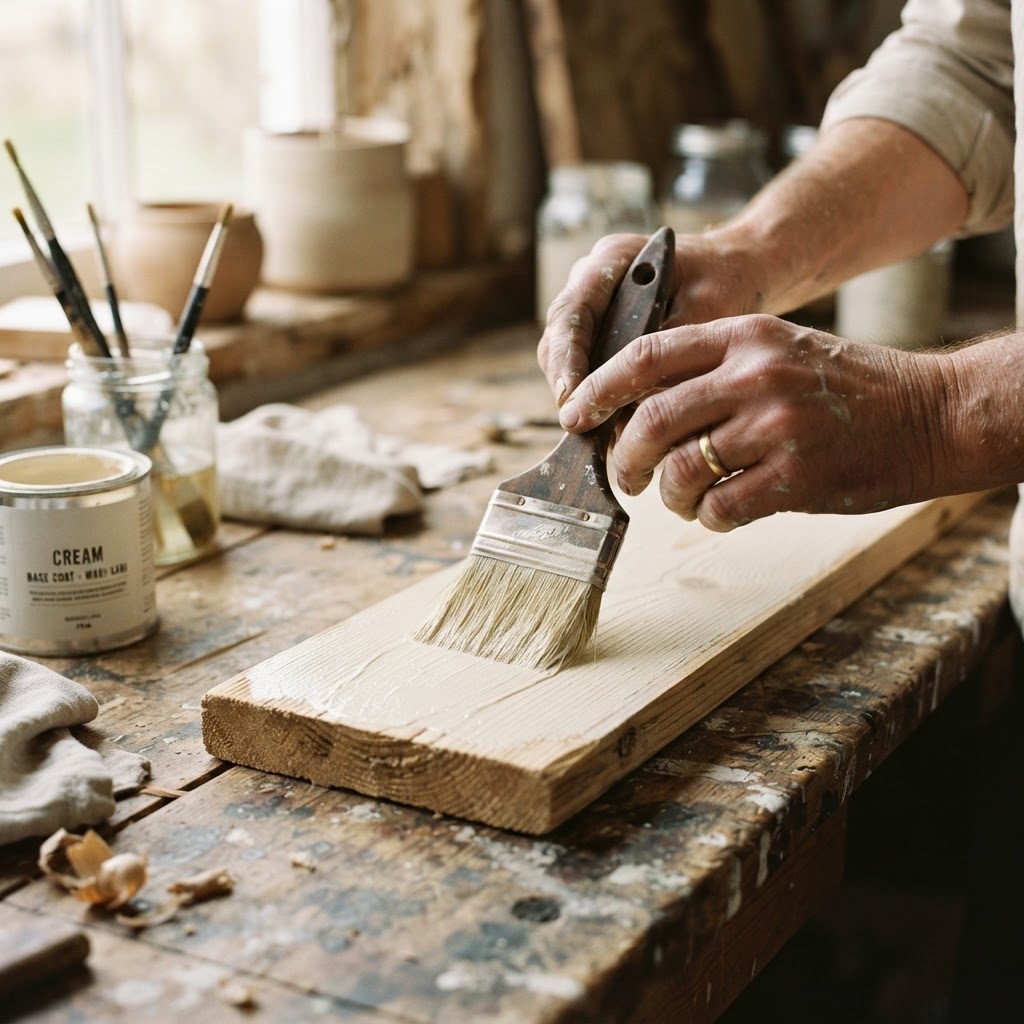
Use the wide brush to apply an even layer of cream-colored paint across the entire board. Let it dry for about 30 minutes, then add a second thin coat if needed for full coverage. A smooth base makes the lettering pop.
 4
4Position the Letter Stencils
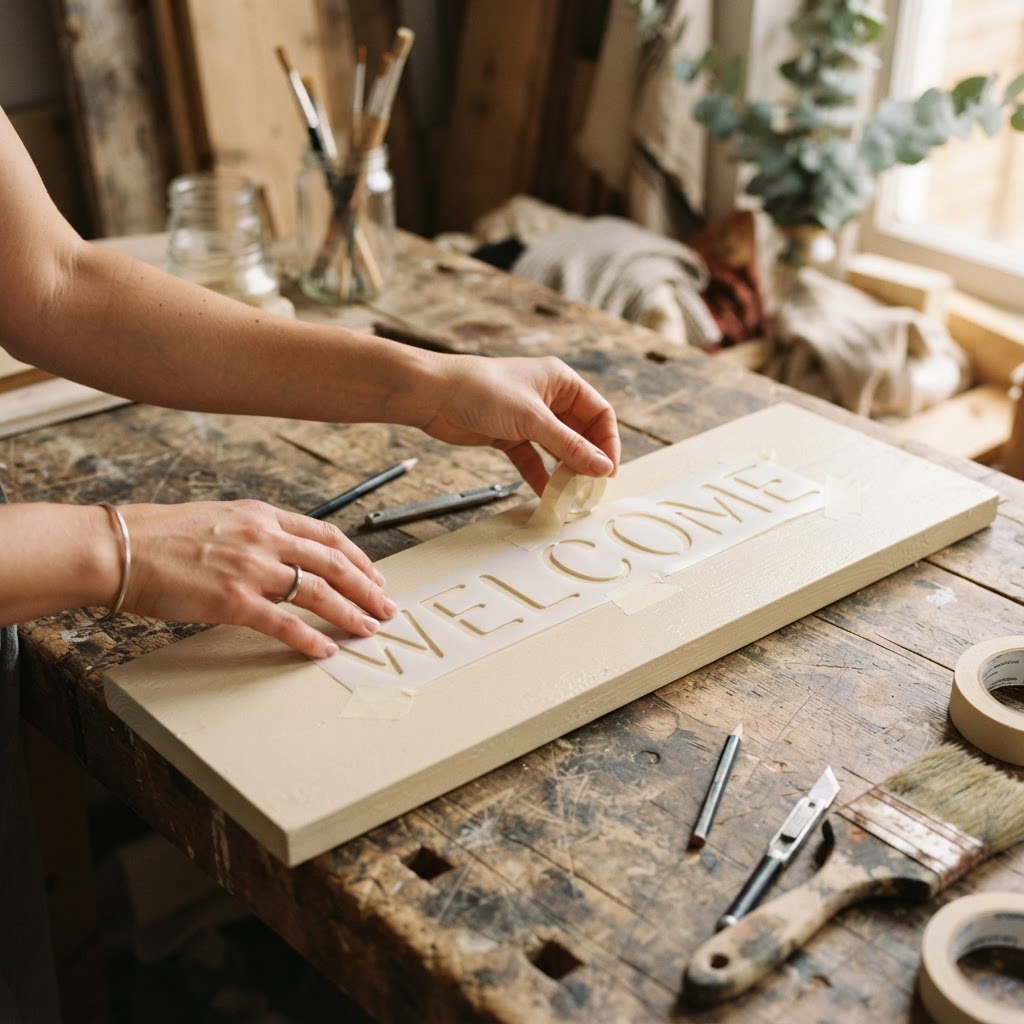
Once the base coat is fully dry, lay out your WELCOME stencils centered on the board. Use a pencil to lightly mark the baseline, then secure each stencil with painter's tape so it won't shift while you paint.
 5
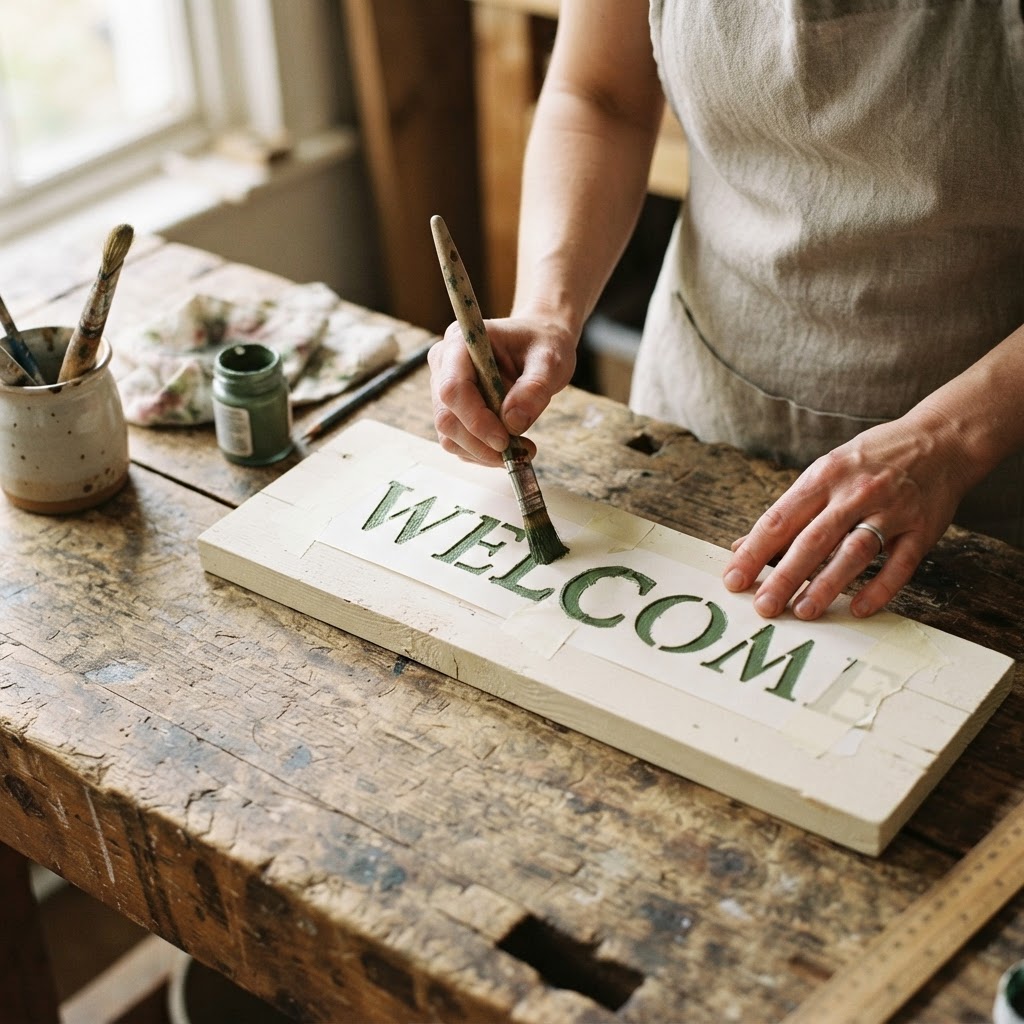
5Paint the Letters
Using the small detail brush and deep moss green paint, dab — don't brush — the paint inside each stencil opening. Dabbing prevents paint from bleeding under the edges. Peel the stencils away carefully while the paint is still slightly wet.
 6
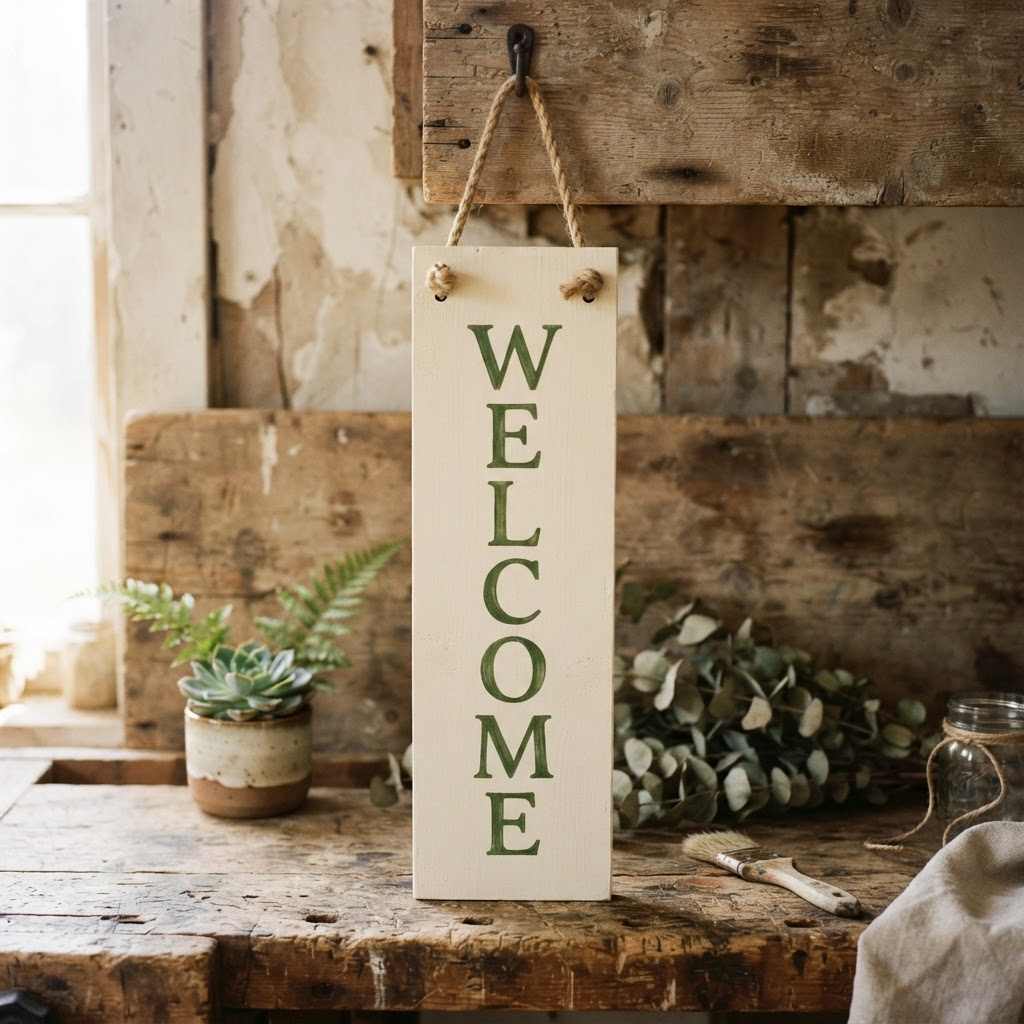
6Add Rope and Hang
Once the lettering is fully dry, drill two small holes near the top corners of the board. Thread a length of jute rope through and knot each end on the back side. Your hand-painted welcome sign is ready to hang.